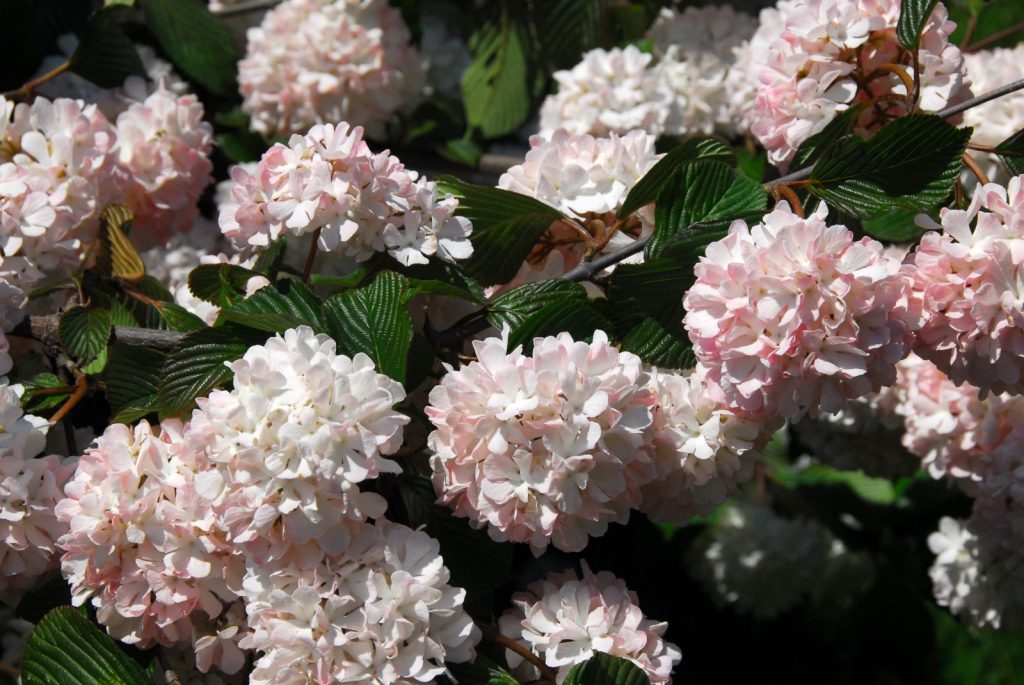
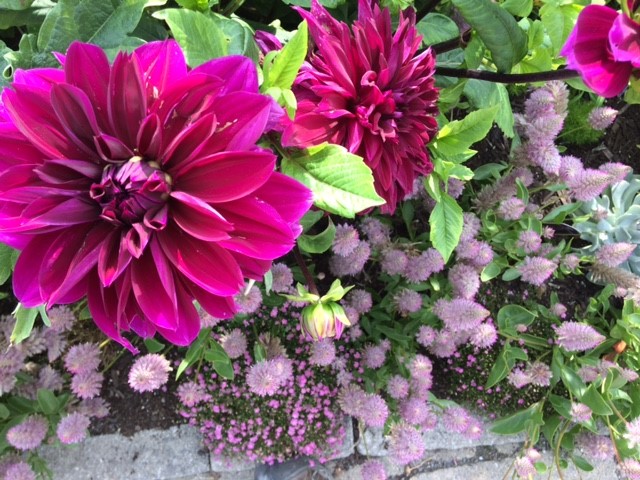
It’s flower season! (Obviously, this is our favorite season here at the Gardens.) Maybe you planted your own cutting garden, like our social media maven, Tory, or maybe you have a field of wildflowers nearby. Not matter what, it’s hard not to be tempted to bring a little of that color and vibrancy into our own homes.
New to flower arranging? I hear you—it’s incredibly easy to get intimidated or overwhelmed when it comes to arranging flowers. But here’s what I’ve learned (and disclaimer: I am not arty at all…)—the easiest way to approach it is to go in relaxed with the intention of creating a loose, asymmetrical, and one-of-a-kind, untamed arrangement.
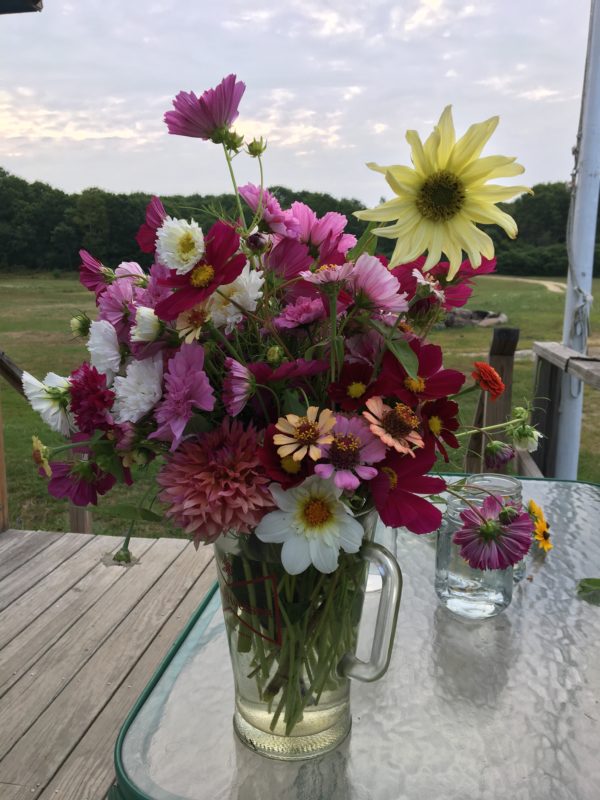
Approach it by walking around your yard, your neighborhood, or your local wild space with the intention of building a cut- or wildflower bouquet. When you walk with intention, observing what’s growing around you, chances are you’ll be amazed by the abundance of flowers and foliage you see, the possibilities, and the infinite combinations you can create.
A few tips:
- Don’t be afraid to go wild. Gather what calls to you—foliage, weeds, wildflowers, flowering branches. Collect what you vibe with, without worrying about how it will all come together—the art of arranging is in the editing. But if you really feel you have no idea what you’re doing, stick with one or two colors, making for a simple, no-stress arrangement.
- Once you’re home with your harvest, prep your blooms. First, strip the bottom leaves from the stems. Stray leaves left submerged in your water will spoil quickly, and cloud your water. Then, cut your stems at an angle for maximum surface area water absorption. Stick your harvest in a bucket of water and let it sit for a few hours to hydrate.
- While you’re waiting, choose your vessel. Look at your harvest of foliage and flowers and decide what will work best—maybe it’s a handful of small jars so you can pepper arrangements around your space. Maybe it’s a big Mason jar or a repurposed milk bottle, an old tin container or a ceramic pitcher. Whatever you choose, its aesthetic will help you intuit and create your floral design.
- Design your arrangement by laying the foundation with your foliage—the greenery not only aesthetically anchors your arrangement, it also literally anchors it by holding your blooms in place. Go about arranging any way you’d like—group by color, by size—whatever works for you. Then, fill in the gaps.
- Once you’ve done a “first draft” of your arrangement, go ahead and edit. Vary heights, fill out the shape, let some foliage drape over the sides of the container. Don’t be afraid to remove blooms, to cut them to various heights, clustering them here and there. Then, step back (literally) to get the bigger picture. Decide where the holes are and fill those in from your leftovers. Then take a tour around the arrangement, making sure you like it from every angle, editing as you go.
- Speaking of leftovers, don’t worry about having greenery and flowers you haven’t used—they won’t go to waste. Just collect a few smaller vessels and tuck a single stem (or two) into a jar to add a little joy to other pockets of your living space. Oh—one final note: Adding a bit of sugar and white vinegar to your vase water will help your arrangement last longer. Enjoy!
P.S. We still have room in horticulturist Diane Walden’s Zoom class, Landscaping for Florals: Your Yard as a Vase.
~Amy Holt, Writer/Editor