Winters in Maine are long, cold, and mostly gray. If you’re a gardener like me, sustained by beauty and color in the natural world, winter can feel like an endless starvation diet. By the end of February, I am desperate for a taste of spring and flowering plants. Two of my favorite strategies for keeping winter’s gray-scale at bay are growing orchids (more in another post) and starting seedlings indoors—the germination and growth of leafy seedlings is a huge spirit-lifter.
Starting your own seeds is an easy, enjoyable, and exceedingly economical endeavor—you can easily grow hundreds of plants for the price of one gallon-sized potted perennial. The keywords here are EASY and FUN.
Key supplies for indoor seed starting:
- Fresh seed- For those who are starting seedlings for the first time, using fresh seed is critical. Seeds can remain viable for many years, but only if they are stored in a water-tight container (mason jars and zip-lock bags work well) in a refrigerator. Seeds kept in warm, dry environments deteriorate quickly.
- Seed flats with domes- These can be purchased at garden centers and box stores in the spring. Recycled home alternatives include plastic storage bins, wooden boxes, or metal baking pans. Any reused or recycled flats and domes must be cleaned and sterilized prior to use. This is easily done in a clean kitchen sink, bathtub, or storage container—simply wash the flats in hot, soapy water, rinse with hot water, and then dip into a 10% bleach/water solution. Allow the flats to dry completely before filling with potting mixture.
- High quality sterile potting mix- ProMix is an excellent, highly recommended product, but you can also make your own. Check out this link courtesy of Mother Earth News.
- Grow lights- Once your seeds have germinated, your grow-light system is the key to your success. Proper seedling growth requires 14-16 hours of light per day. Keeping seedlings under fluorescent grow lights, rather than in a sunny window, gives them ample light for development while allowing you to maintain ideal temperature and humidity levels. Direct sunlight can dry out soil, killing seedlings quickly. This link explains how to build grow-light shelving inexpensively yourself.
- If you have a fluorescent shop light at home and space on a shelf, you can DIY a grow-light system without expense.
- Plant labels and a Sharpie marker or wax pencil.
- Optional—a good book on seed starting. My personal favorite is Burpee Seed Starter by former CMBG Executive Director, Maureen Heffernan. It has excellent, detailed information on the germination requirements for hundreds of perennials, vegetables, herbs, and annuals.
Once you’ve assembled your materials, the fun begins. Fill seed flats fully and evenly with potting mix. Spray with warm water to moisten the soil. Let sit for 15 minutes or so, and then drain excess water from the flat. The potting medium should remain moist, but never soggy or waterlogged.
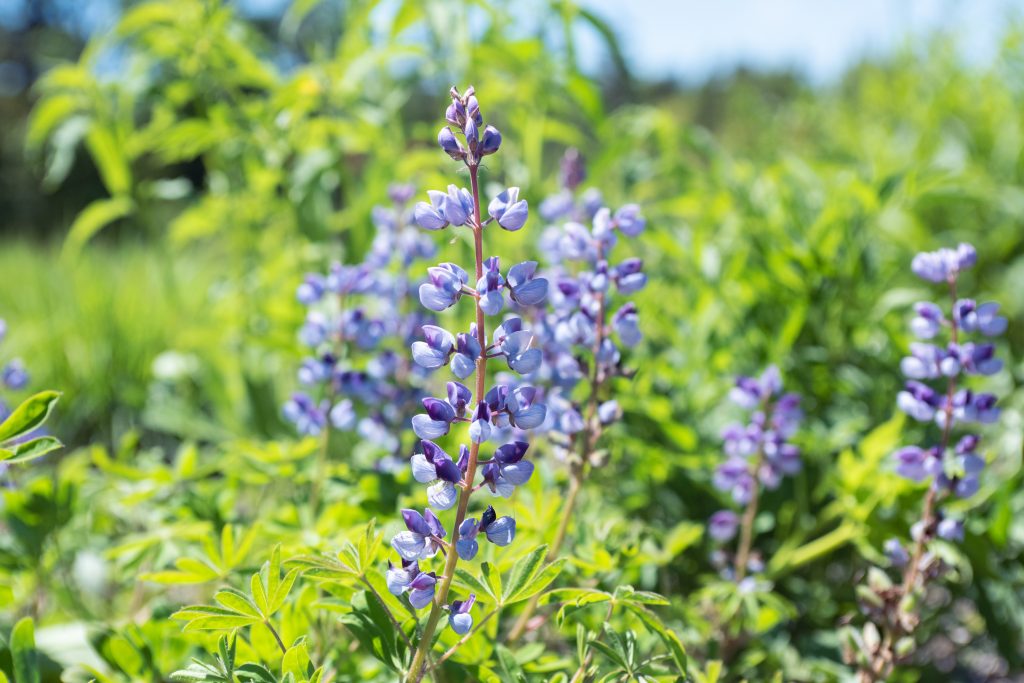
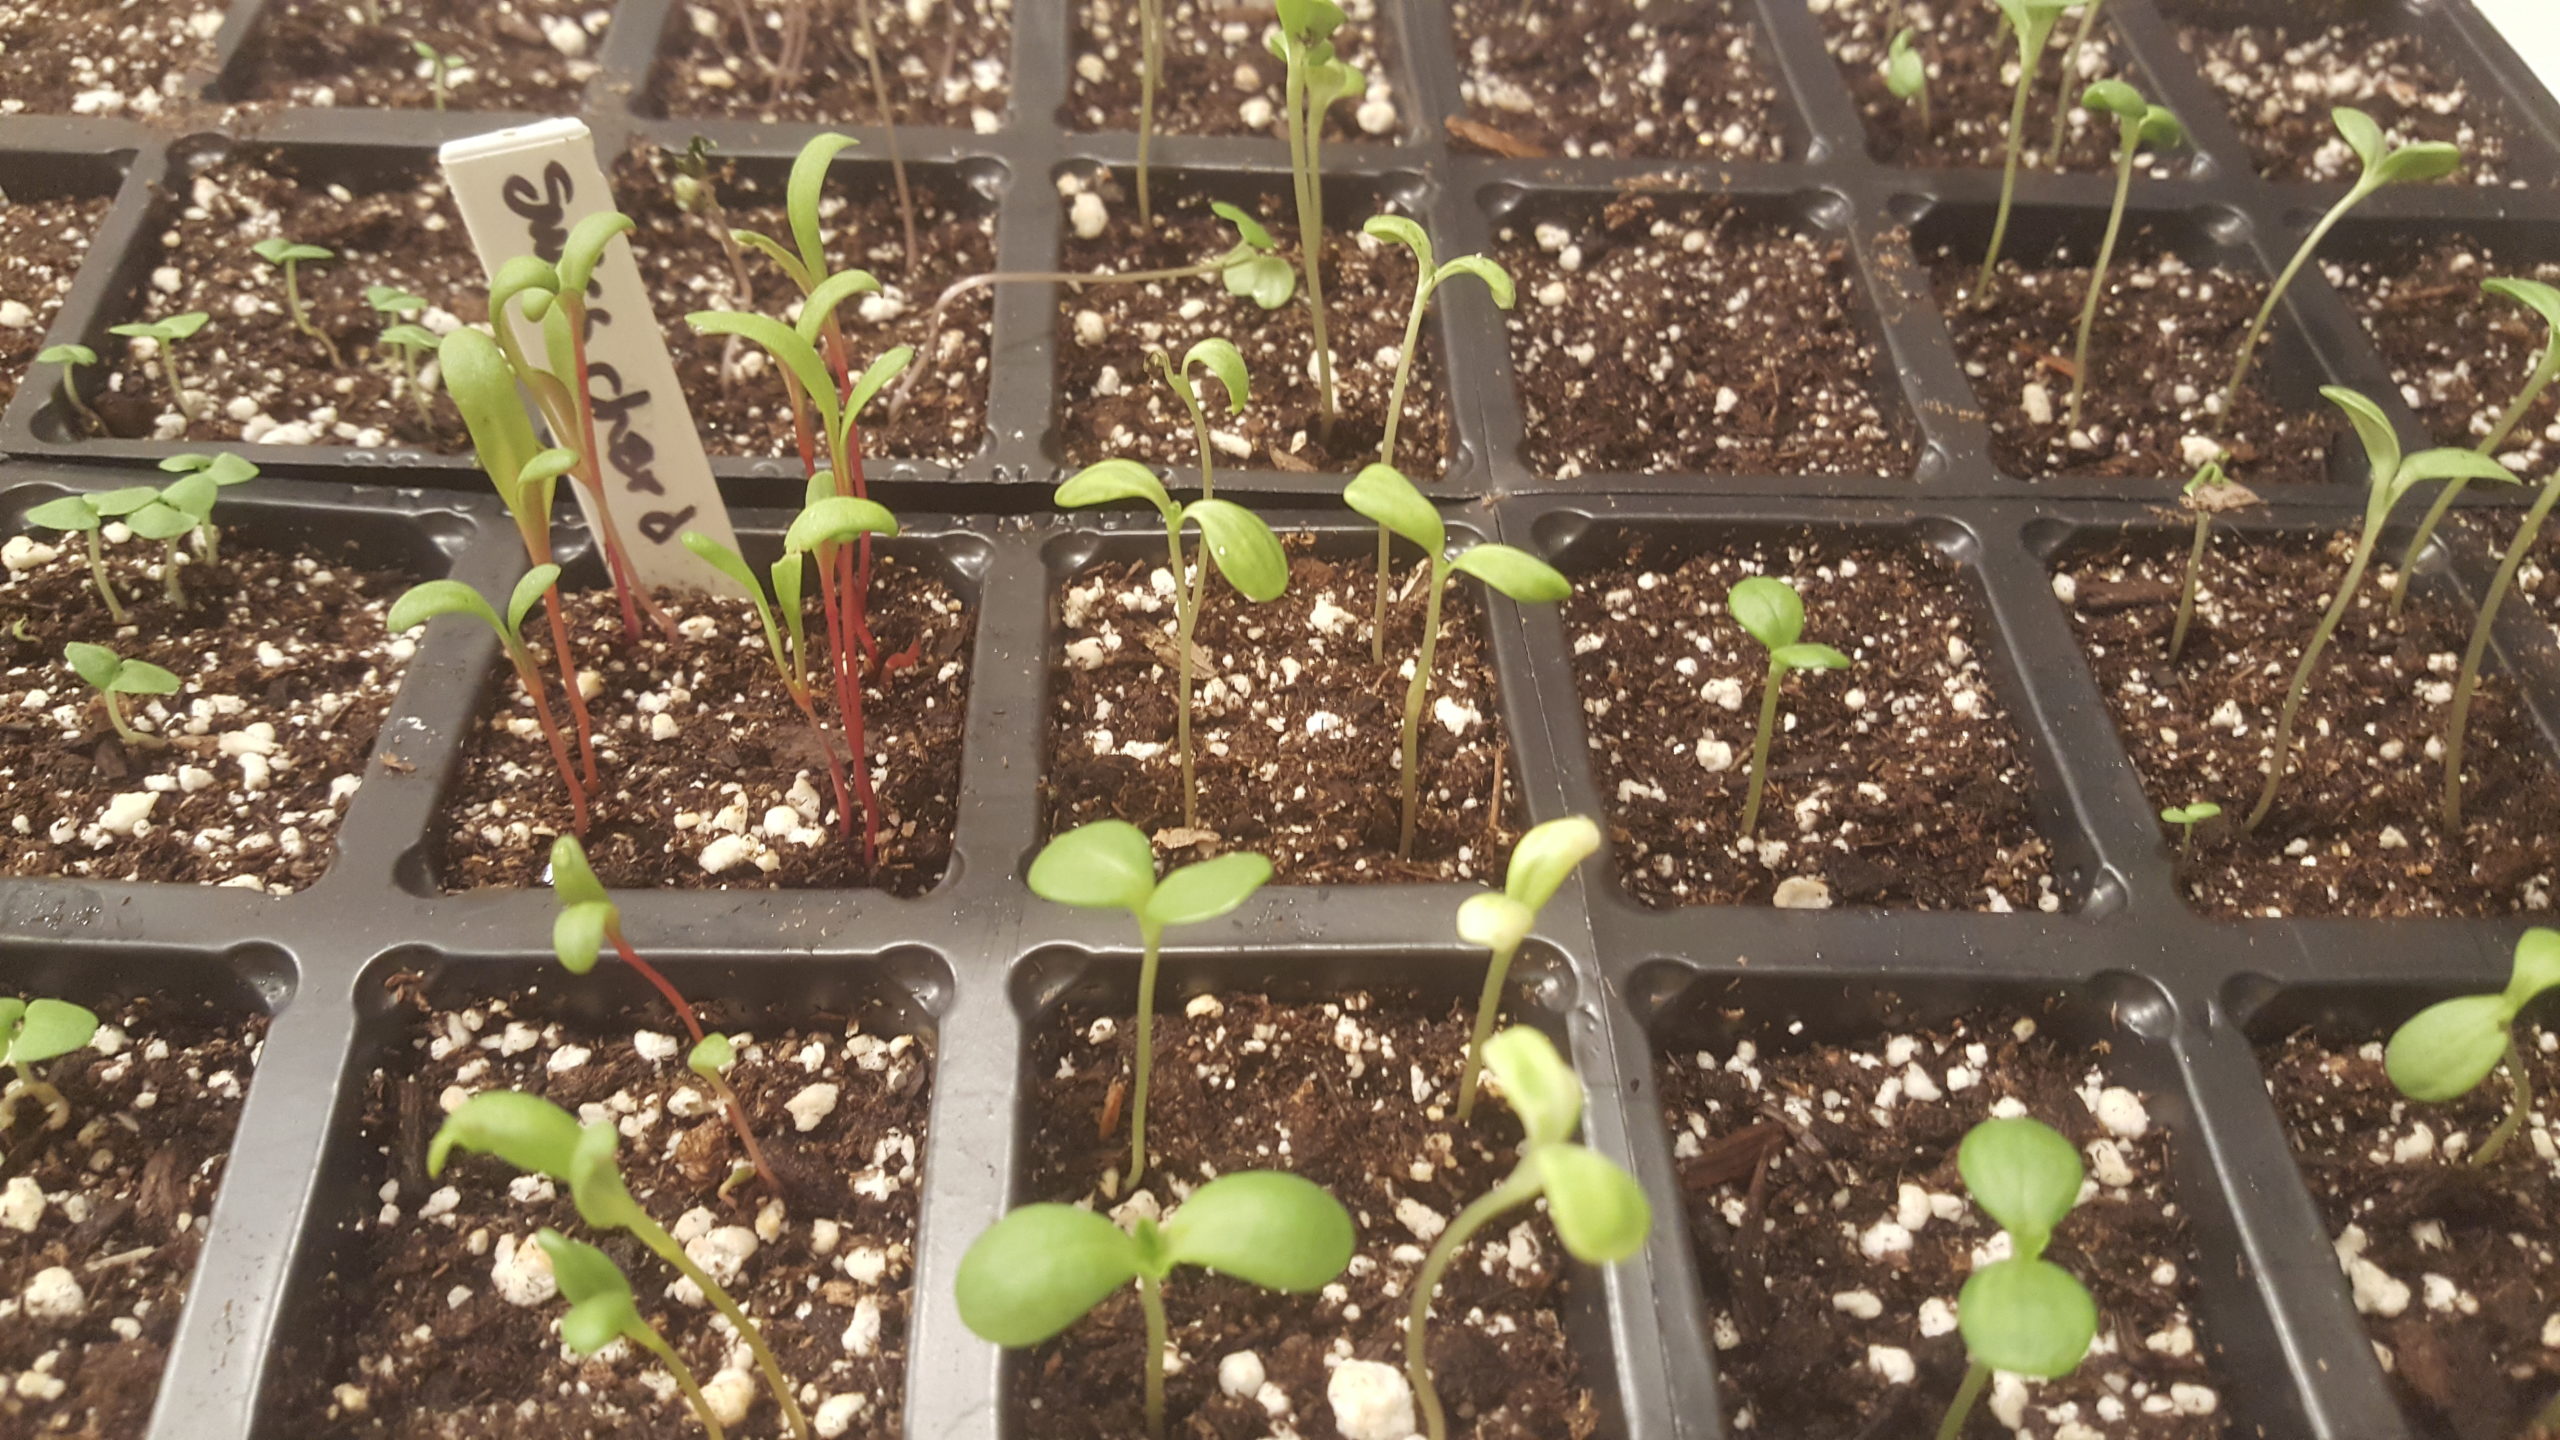
Most seeds can be planted directly from the seed packet into the soil. (Although the germination times for many plants can be significantly reduced by soaking the seeds in warm water for 8-24 hours prior to planting; this method works well with lupine, delphinium, pansy, and parsley). Read and follow the planting instructions on the seed packet. Note the seed size before planting—for larger and bulkier seed like tomato, kale, chard, zinnia, or marigold, use a narrow-tipped tool such as a cooking skewer, chopstick, or similar, and press 1/8” to 1/4” holes into the surface of the soil. Drop the seed into the hole and use the tool to cover the seed with soil. For very small, fine seed, thinly spread it onto the surface of the soil and shallowly cover with a small amount of clean soil. Once each flat has been fully planted, spray the surface lightly (just enough to moisten the seeds) with tepid water, and cover with a dome or plastic wrap. Place the flats in a 65° to 75°F location out of direct sunlight. Check every day for germination. At the first sign of growth, place the flats under grow lights for 14-16 hours per day. Continue to keep the flats covered until all seeds have germinated and are growing vigorously (one-three weeks, depending on the growth rate). Water only when the surface of the soil begins to dry out; never overwater or allow water to collect in the bottom of the flat.
When the seedlings are growing vigorously and domes have been removed, thin by cutting unwanted seedlings at the soil level, or gently separate from one another and pot individually. Continue to grow your seedlings under grow lights until danger of frost has passed. Prepare them for the outdoors by placing the flats outside for a couple of days where they have a few hours of early morning or late afternoon sun. Gradually increase the amount of direct sun per day over the course of four-five days until they can tolerate full sun all day. Most seedlings can be planted outside safely by Memorial Day weekend.
In Maine, mid- to late-March is the perfect time to start tomatoes, chard, and kale; herbs like sage, parsley, and basil; and quick-growing annuals like marigold, zinnia, balsam, amaranth, and China asters.
Watching your seedlings germinate and grow, visualizing them flowering and fruiting in your garden, will do much to keep your mind off of our current world challenges and these cold, gray, late winter days.
Get out there, have fun, let the light shine, and the seed-starting begin!
— Courtney, horticulturist