Starting Seeds Indoors
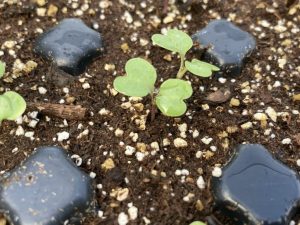
Fortunately, the gloom of those last gray weeks of winter can be alleviated by uniting light, heat, moist potting mix, and the tiny inert capsules we call seeds. I never tire of witnessing them magically coalesce into a green and living seedling, the excitement of seeing those first stages of germination and the wonder they impart.
For those hardy perennial plants that have a long maturity and need 10-12 weeks of growth prior to planting, Mid-January through February is ideal for seed-starting. Growing perennials (some of my favorites are delphiniums, pansies, foxgloves, oriental poppies, primula, and penstemons) from seed can be rewarding and extremely economical. It also creates opportunities to grow plants that might not otherwise be available locally.
Early March through mid-April is ideal to start seeds of annual flowers and hot-climate vegetables that reach maturity quickly and need about 6 to 8 weeks of growth prior to planting outside. My favorites to start at this time of year include heirloom tomatoes (SO much more delicious than hybrid tomatoes!), basil, peppers, zinnias, French marigolds, and parsley.
Get started by assembling the basic equipment:
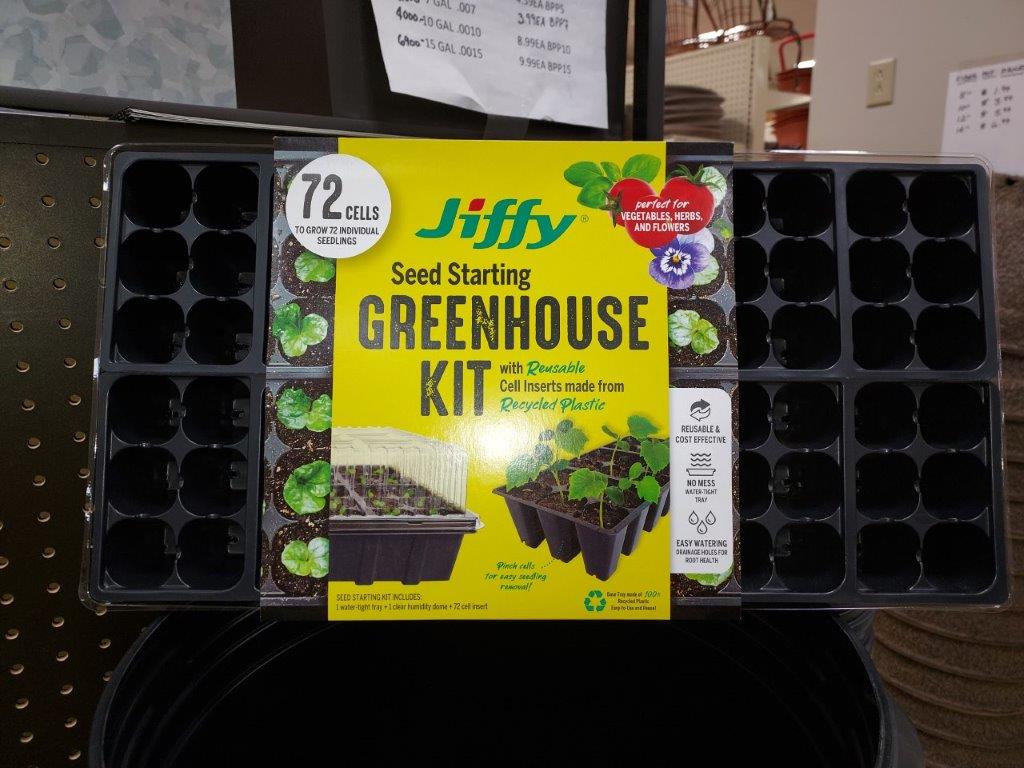
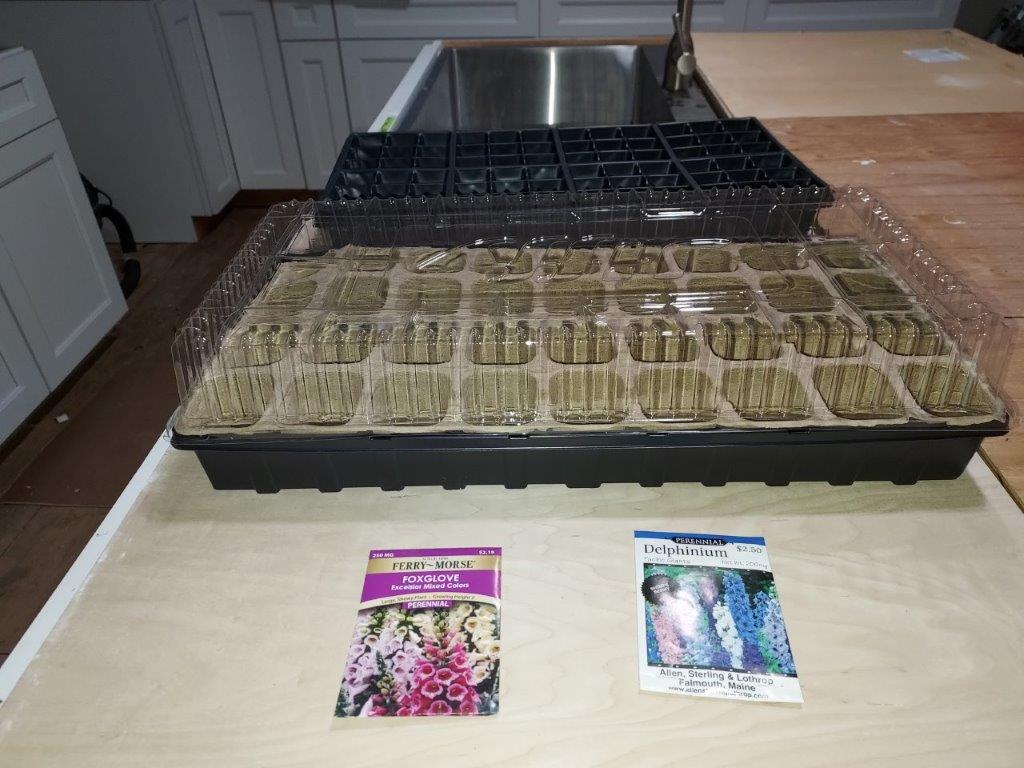
- Clean and sterile containers to hold the potting soil and seeds:
-
- For ease, I like seed tray kits that consist of a solid bottom tray, a transparent humidity dome, and a seed propagation liner with individual cells. These are very easy to find at local garden centers and online.
- With some easy modifications, recycled containers such as yogurt cups, shallow deli containers, butter tubs, and Cool Whip tubs also work well for starting seeds. Prior to planting, in a well ventilated area, melt some drainage holes into the bottom of your containers with a heated nail or a soldering iron. Wash and sterilize containers in a solution of hot soapy water mixed with 10% bleach. Rinse thoroughly and allow to air dry.
- Sterile soil-less potting mix:
-
- A good quality germination mix that has been sifted to remove large particles is best.
- Avoid previously used potting mix or garden soil as these may contain pathogens that will harm seedlings.
- Moisture:
-
- Once the seed trays are filled with potting soil and prior to planting, moisten the soil with warm water. Warm water is more readily absorbed than cold water and germination is accelerated by warmer soil temperatures.
- Maintaining high relative humidity also aids in germination of the seeds and keeps the soil from drying. The transparent humidity domes that come with seed tray kits make the additional expense worthwhile. If using DIY containers, after seeding cover them with cellophane.
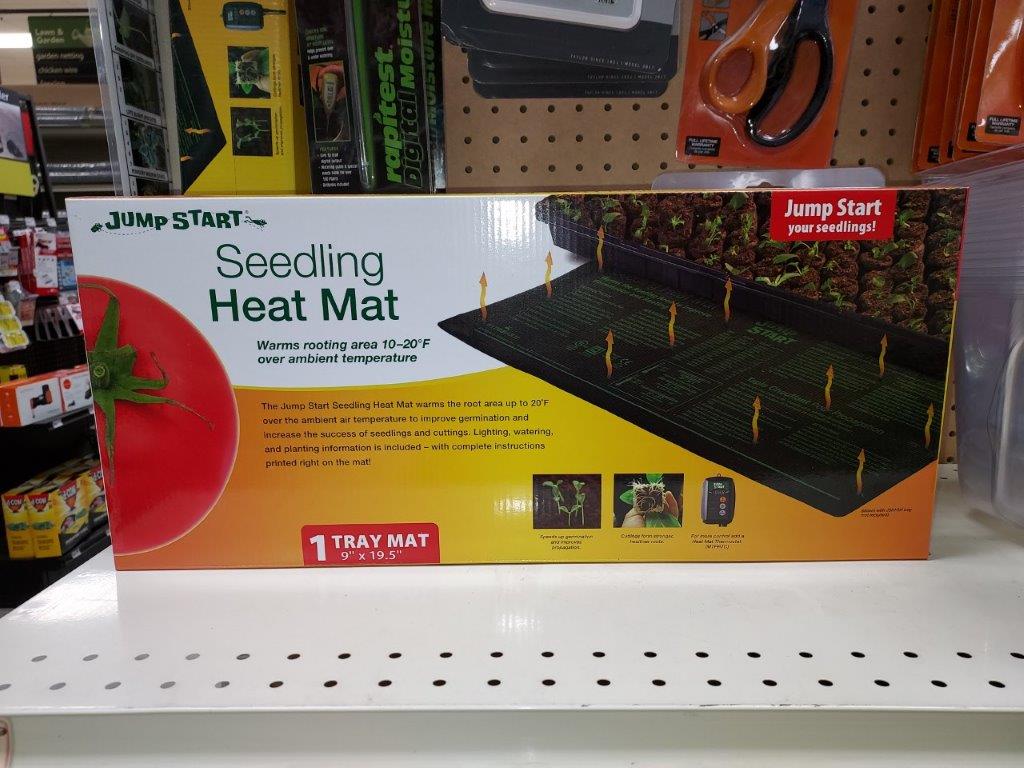
4. Warmth:
-
- Most seeds germinate well between 65⁰F and 75⁰F. If your home’s ambient heat is at or below 65⁰F, place an electric heating mat beneath the seed tray until at least ¾ of the seeds have sprouted.
- Once germination has occurred, seedlings can be grown at temperatures between 55⁰F and 70⁰F.
5. Bright, intense light:
-
- To grow properly, seedlings need intense light. Natural light coming through windows is inadequate and will produce weak seedlings and poor growth.
- Artificial light is critical to growing seedlings that are robust and healthy. Fluorescent or LED lightbulbs are a good, inexpensive choice for artificial lighting.
- Seedlings need 14 to 16 hours of light per day. Placing a timer on the fixture ensures the seedlings always receive requisite exposure.
- The top of the seedlings should remain no more than 2” or 3” below the bulbs and never touch the bulbs. As the seedlings grow, the light fixtures will have to be raised accordingly to maintain this distance.
6. Seeds: those little magic capsules!
-
- New or fresh seed has the best germination rates.
- Seeds can be successfully stored for years in the refrigerator if placed in an airtight container such as a zip-lock plastic bag or a glass jar. Seeds stored in dry heat have a short shelf life.
Planting! Now that all the required components are in hand, we can start in on the really fun part.
1. Place the seed propagation liner into the tray and fill all the cells with potting soil. To ensure that the cells are filled, use your fingers to tamp down soil. Add additional mix as needed until cells are firmly filled, but not compressed.
2. Water the cells with warm water until all soil is fully moistened. Drain excess water from the tray.
3. Before progressing, read the planting instructions on the seed packet! That will tell you how deeply to bury seed. Seeds that get buried most likely need darkness to germinate; seeds that are sown on the surface of the soil may need light to germinate. The more you know about your seed, the more successful your efforts will be.
4. For seeds that get buried such as tomatoes, zinnias, and marigolds, use the tip of a plant label, pen cap or, my personal favorite, a wooden food skewer to create small holes in the center of each cell approximately ¼” deep. Drop one or two seeds in each hole and use the skewer to gently cover the hole with potting mix.
5. For tiny seeds that are surface sown such as pansies, parsley, foxglove, and poppies, sprinkle 2 or 3 seeds on the surface of each cell.
6. When all cells have been planted, lightly water the surface of the tray with tepid water and cover with the humidity dome or cellophane. Drain excess water from the tray. Place trays in a warm area or on a heating mat. Check trays daily to make sure the soil
is remaining consistently moist and water as needed, always removing excess water from the tray immediately. It is imperative that the soil does not dry out while the seeds are germinating and developing roots.
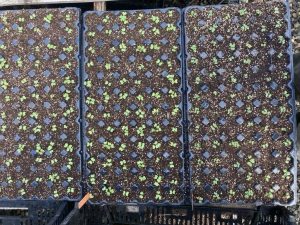
7. As soon as some seedlings have sprouted, place the tray about 1” to 2”under the grow light for 14 to 16 hours per day. Keep the humidity dome on the trays until most or all of the seeds have sprouted.
8. Remove the humidity dome when most of the seedlings are up and growing, keeping the grow light 1” to 3” from the top of the seedlings. Without the humidity tray and with the development of roots, the soil will begin to dry more quickly. Check your soil moisture levels daily and water to keep media consistently moist.
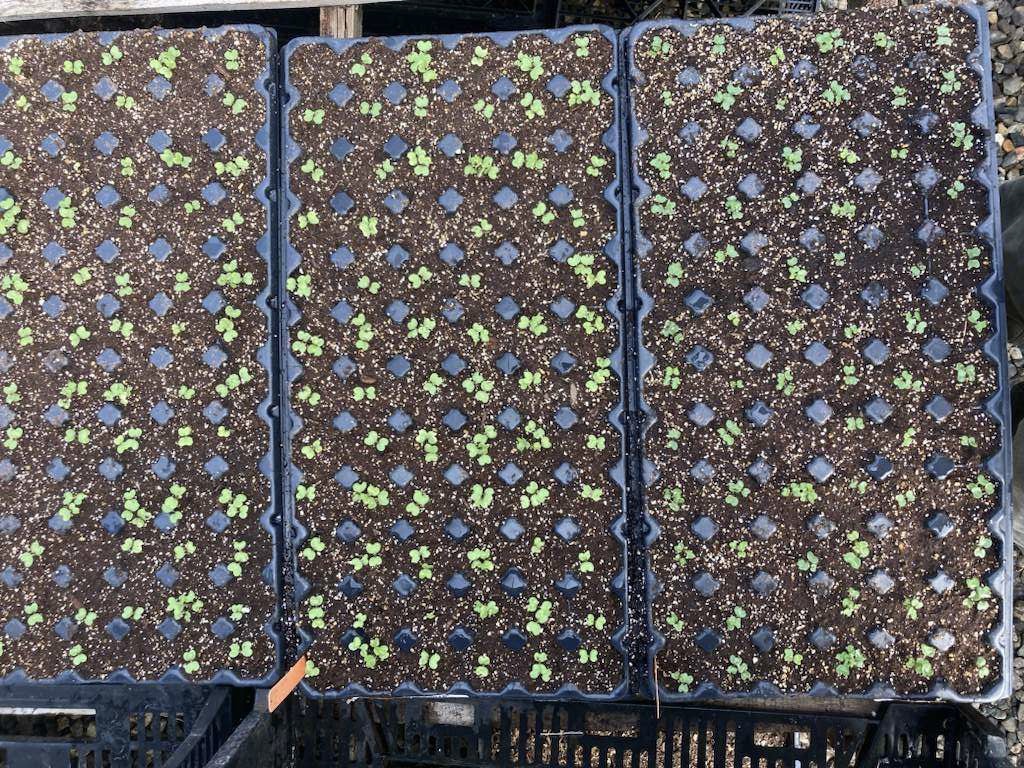
9. When the seedlings are growing strongly, thin them to one per cell (or if in flats, to 2” apart) by cutting the base of the smallest or weakest looking seedlings with clean scissors. To encourage stocky and sturdy seedlings, rotate your trays under the lights every couple of days and run a gentle fan to give them daily air movement for a few hours per day.
10. Continue growing under the lights, keeping adequately watered, until one week to 10 days prior to planting outside when you’ll begin the process of hardening off (getting your seedlings acclimated to life outdoors by gradually exposing them to increased sunlight, air movement, and cooler temperatures).
I cannot fully express (without sounding completely over the top) the wonder and delight I feel when gazing at a tray of seedlings I have started and grown myself. It far exceeds the pleasure of purchasing seedlings and, most significantly for me, the act of planting and growing brings some natural green beauty into my life, warming my soul and lifting my spirit during those final, seemingly interminable, weeks of dreary winter. It is a great hors d’oeuvre that sustains me until the bounty of May.
Right now is the perfect time in Maine to start some seeds of your own, whether they are vegetables or flowers. I hope the process and the rewards bring you as much joy as they have to me.
(Want more? We have an upcoming online seed-starting class. Sign up now and learn from the comfort of your own home!)
Courtney Locke is a seed-growing enthusiast and horticulturist at the Gardens. You can often find her tending the gardens outside the Lerner Visitor Center or teaching. Check out some of her class offerings this season.
Related Articles
-
Starting Seeds Indoors
Winter can seem endless here in Maine—this bleak season starts in late October and stretches slowly through March and April….