fbpx

Bee Day–the Gardens’ bees have returned!

Apiary, Pollinators

Sarah Callan (another Gardens educator) and I recently installed our new bee packages and brought our surviving hives home for the season. Early on a chilly morning, we grabbed our veils and hive tools, and went down to the bee farm (Backwoods Bee Farm) to pick up our three packages of bees.

What is a bee package you ask?

Quite literally a box of bees! Each weighs three pounds and provides temporary housing for about 10,000 bees. Packages are made of lightweight wood and screened sides, making them easy to transport while providing ventilation. Within the package is one mated queen in a queen cage. This nifty little box keeps the queen safe while allowing her new colony to get to know her and her scent, helping to ensure that they accept her as the queen of the hive. The rest of the 9,999 bees will make up the new hive, usually coming from a few different colonies. When bees are mixed from three or more colonies, they are less likely to fight and more likely to accept the new queen. The queen is generally raised in colonies designated for queen-rearing. Each package has a hole that is plugged with a feeder (a can of sugar water with tiny holes from which bees can lap). A thin piece of wood is stapled over the feeder and the hole. 

Okay, so now we’ve got our three buzzing boxes of bees loaded into the car. Next, we had to pick up our hives that overwintered in Portland. We plugged the hives up with foam, strapped them tightly with ratchet straps, and loaded them into the car. Then, we drove the buzzing little hatchback up to the Gardens! It may sound a little wild but I do love driving with bees in the car—I don’t know if it’s as much a thrill as it is a hilarious opportunity to send videos that scare my friends. As intense as it sounds driving around with tens of thousands of bees, it is quite safe when done correctly, and I was confident that they were contained.

So we snapped a few selfies and hauled the bees to their home here at the Gardens. Now all the fun begins – the install. This takes a bit of finesse and more than a bit of forcefulness.

The day before we got our bees, we got the apiary all prepped.

The Preparation:

Hive bodies are placed on cinderblocks; we use 10-frame Langstroth hives (I prefer to use medium sized supers because they are easier to lift and it is nice to have everything the same size). Our set up goes like this: cinderblocks, screened bottom board, medium 10-frame super, another medium 10-frame super, an empty super (one deep or two medium–this will hold the food), inner lid and outer lid. It is important to provide food for the newly installed hives for multiple reasons: they are in an unfamiliar location without much plant life blooming at the moment (usually these bees come from the south where the season is much further ahead); providing food within the hive helps encourage the bees not to abscond; and having plentiful food readily available allows bees to start wax and honey production right away. All in all, it gives a new colony the best shot at success. The food is a 1:1 mixture of sugar and water in a mason jar with small holes in the lid flipped upside down. This creates a vacuum that allows the bees to lap at the sugar water without it constantly dripping on them or drowning them. We will feed them for a couple weeks. We also have some frames with honey that we stored over the winter that we use in the supers for some extra food.

The Install:

Okay, we have the bees, the apiary is set up, the food is prepared—now it’s install time. First we took last year’s hives out of the car and put them on their blocks- we didn’t remove the foam plugs quite yet and set them a bit back from where the new hives will go. This helps prevent the new bees from going into the wrong home (it is okay for the new bees to intermingle with each other but if they were do go into a fully formed hive they would be treated as robbers and attacked). Remember the new bees in the packages don’t really know each other yet. It’s our job as beekeepers to keep them as content and safe as possible during these first few weeks as they settle in. One of last year’s hives was designated for the observation hive. But before we get to those, let’s install our new packages.

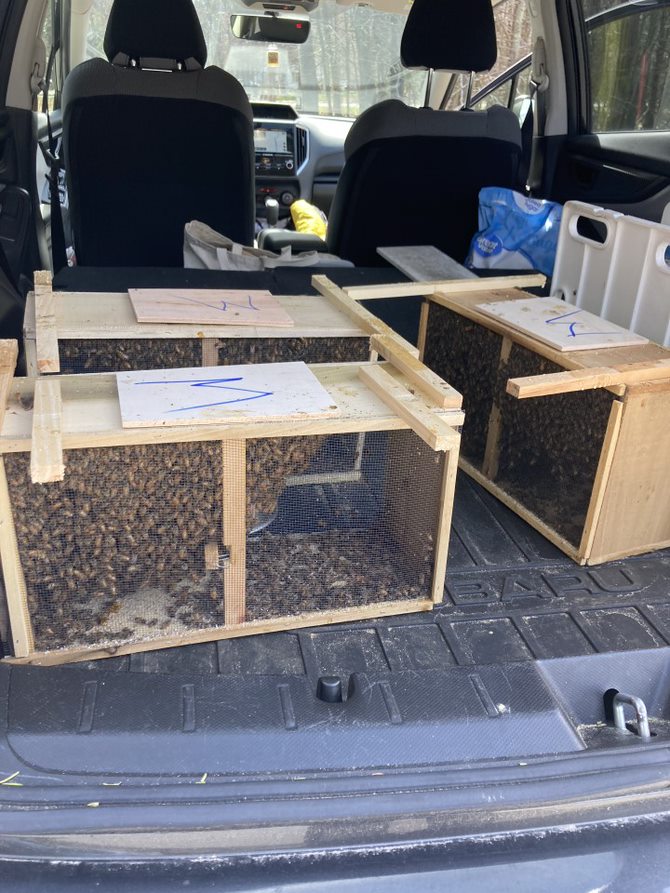
First, we opened up the top hive body, took out 3-4 frames and get ready to dump the bees in. It is best not to smoke the bees during package install. Because they do not have any resources to protect, they are unlikely to be defensive and the less their pheromones are disrupted, the more likely they will stay together. Sarah misted the bees a bit with some sugar water—this helps limit their ability to fly and keeps them calm and distracted cleaning themselves while we work with them. Next, we pried off the piece of wood blocking the feeder can and set it aside. Then it was time to pull the can and queen cage out of the package. I told myself this would be a smooth process and everything was going to pop right out easily, but it never is as easy as it looks! First, we tapped the package firmly on the ground so that bees all fall to the bottom. Then, after some yanking and pulling, I finally pried the can loose from the package, pulled the queen cage out, and covered the package hole back up with the thin wooden cover, miraculously not letting many bees out in the process. We checked the queen to make sure she was alive and put her aside. Now for the fun part! I knocked the bees back to the bottom of the package, gave them another little misting, removed the lid, and dumped (or rather, poured) them into the space where we removed the frames. This is not tender process, but does not hurt the bees and is the safest and fastest way. I gave a few hard shakes, tipping the package so the bees slid out, making sure to get most of them out and into the hive. Removing the frames allows the bees to disperse right down into the hive. I can’t help but chuckle watching thousands of bees plop into their new home. We propped the package, with the straggler bees, against the front entrance of the hive (they’ll find their way in eventually) and carefully added the frames.

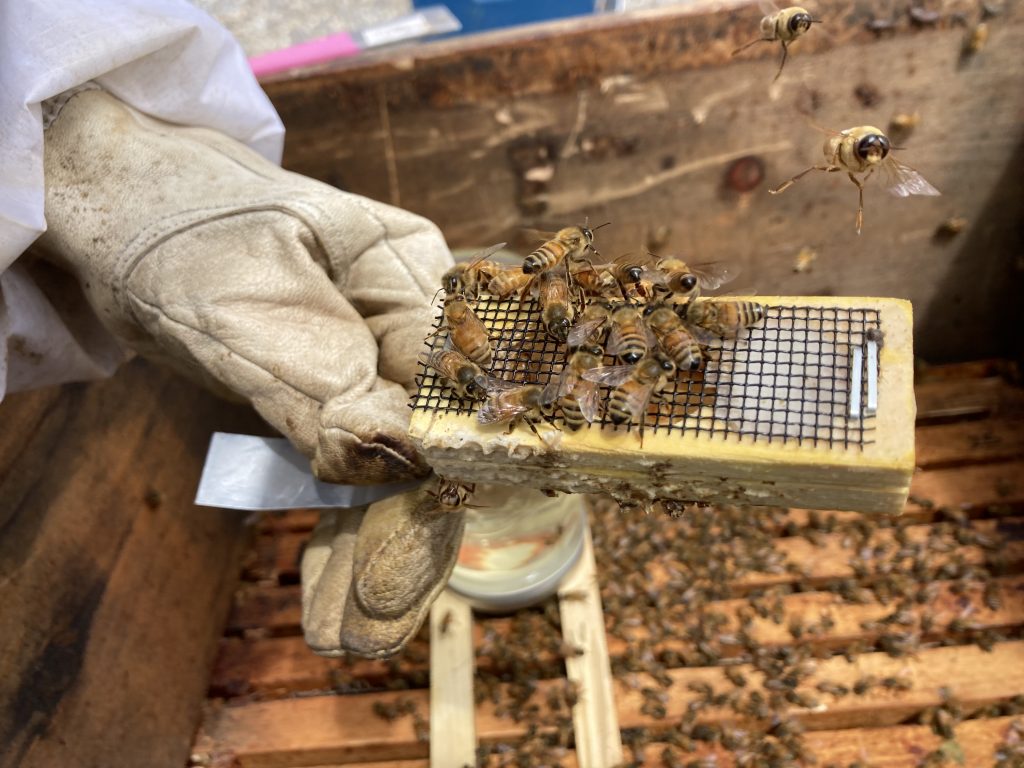
Now for the queen. Each end of the queen cage was plugged with a tiny cork, and in one end beneath the cork is a chunk of candy. We removed the cork above the candy; the worker bees will slowly eat this, releasing the queen within a few days. This delay allows the colony extra time to recognize her as the queen; if we were to release her right away, they may kill her and never form a colony. After removing the candy-side cork, we squeezed the queen in her cage between two interior frames.

Now the bees, including the queen, were safely in the hive. We put our feeders in and closed everything up. Over the next few days and weeks we will continue to feed them, make sure the workers have released the queen, and check that the queen has started laying eggs.

We repeated this process for our other two packages. Everything went smoothly!

Next up—the observation hive! We used our smallest overwintered colony for this special hive. Carefully, we added brood and honey frames into the observation hive. Sarah spotted the queen on one of the frames, confirmation that she made the journey! We knew this time of year the observation hive gets a little chilly at night on the Plexiglas side so we were careful to keep the brood frames on the opposite side to keep the babies warm.

Last but not least we pulled the foam plugs from our two strongest hives and let them fly! These colonies will spend the next few days orienting themselves (or re-orienting) and finding the plentiful forage available at the Gardens! 

It was a big and very successful bee day here at CMBG.